- +86-153 5957 6858
- yashilin417@163.com
- Mon - sun: 7:00 - 22:30


Share to:
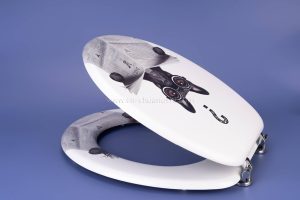
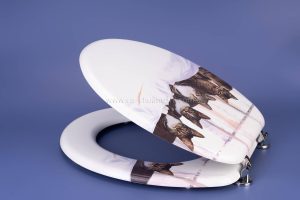
How to install wood toilet seat lid
Haveany questions about our products?
Don’t hesitate to contact us. Chuangshis Sanitary Product Specialists are very happy to help you and provide professional and reliable solutions to help you solve various problems.
Support 7/24
Tracking
Documents